 Trezor.io/start
If you just purchased a Trezor hardware wallet, the next step is to set it up safely so you can start protecting your cryptocurrency. Trezor is known for strong security, simple design, and giving users full control over their digital assets. But to use your device correctly, you need to begin at the right place — Trezor.io/start.
This article explains what the page is for, how to use it, and the complete setup process in plain, easy-to-understand language.
What Is Trezor.io/start?
Trezor.io/start is the official setup and onboarding page for Trezor hardware wallets, including:
Trezor Model One
Trezor Model T
Trezor Safe 3
This page guides you through all the steps required to make your device ready for use. It helps you:
Download the official Trezor Suite application
Install or update the device firmware
Create a new wallet or recover an old one
Follow safety instructions to protect your crypto
Simply put, Trezor.io/start is your starting point for building a secure crypto storage setup.
Why It’s Important to Use the Official Page
Cryptocurrency security is serious. Fake download links and scam websites exist online, and using the wrong one can put your funds at risk.
The official Trezor.io/start page ensures:
You download only the authentic software
You follow the correct setup process
You avoid harmful or unofficial tools
Your device is safe and updated
Always double-check the URL. It should be Trezor.io/start — no extra letters, no unusual words, no variations.
Step-by-Step Setup Guide Using Trezor.io/start
Below is a simple explanation of how to set up your Trezor device from start to finish.
1. Visit the Official Website
Open your browser and type Trezor.io/start.
You will see an option to select your Trezor model. Choose the one you own so the instructions match your device.
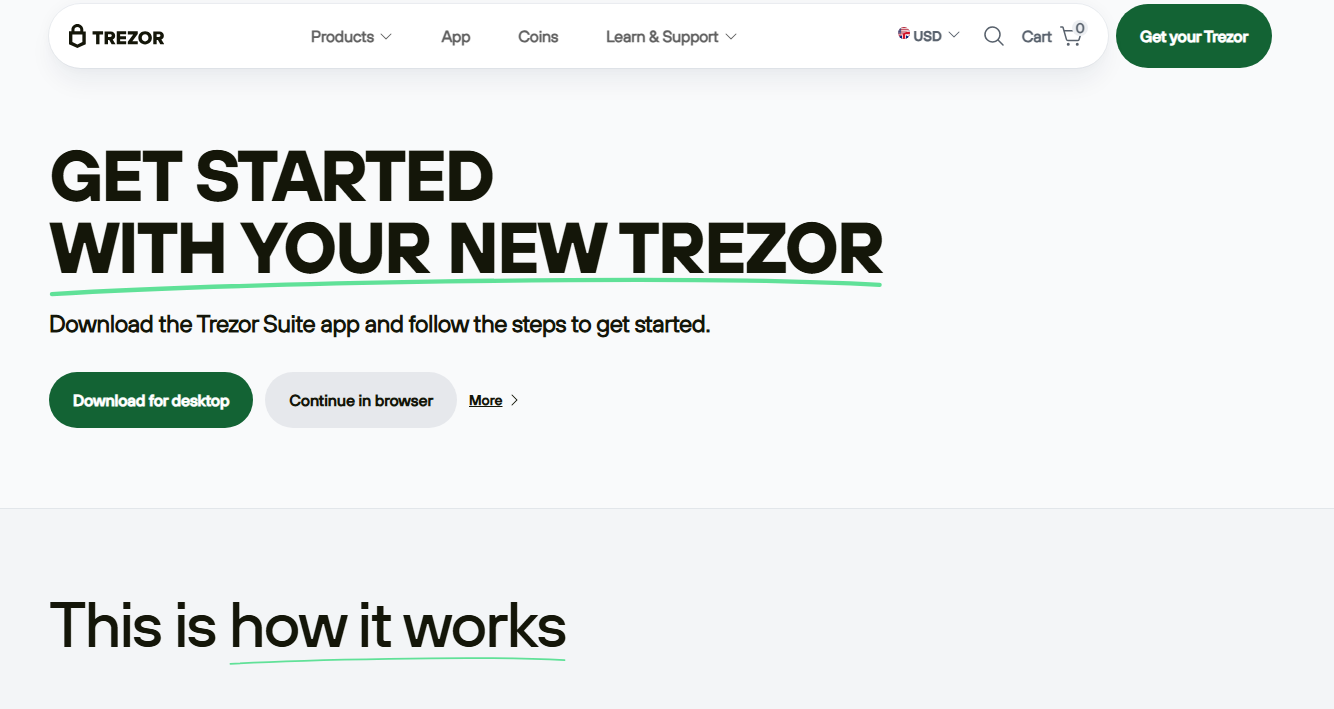
2. Download Trezor Suite
Trezor Suite is the official software you will use to manage your crypto. It is available for Windows, macOS, and Linux.
With Trezor Suite, you can:
Check your balances
Send and receive coins
Install device updates
Manage security features
Track your portfolio
Click the download button for your operating system and install the app.
3. Connect Your Trezor Device
Use the USB cable that came with your Trezor. Once connected, Trezor Suite will automatically detect the device.
If your wallet is brand-new, it may not have any firmware yet. The software will guide you to install it.
4. Install or Update Firmware
Firmware is the internal system that powers your hardware wallet. Installing the latest version ensures:
Better security
Improved performance
Support for updated features
Follow the on-screen instructions to complete the firmware installation. Do not disconnect the device during this step.
5. Create a New Wallet
After updating the firmware, you will be asked to choose:
Create new wallet, or
Recover wallet
If this is your first time using Trezor, select Create new wallet.
Soon after, you’ll be guided to the most important part of the process — securing your recovery seed.
6. Write Down Your Recovery Seed
Your recovery seed (also called seed phrase) is a list of 12, 18, or 24 words shown on the Trezor screen.
This is the master key to your cryptocurrency.
If your Trezor is ever lost, damaged, or stolen, this seed is the only way to recover your funds. That’s why it must be protected very carefully.
Follow these safety rules:
Write the seed words on paper
Never store them digitally
Do not take screenshots
Do not upload the seed online
Do not share it with anyone
Keep the written seed in a safe and private place. Some people store it in a fireproof safe or create two copies in separate locations.
7. Set Up a Strong PIN
Your PIN code protects the physical device. Even if someone steals your Trezor, they cannot access your crypto without the PIN.
Choose a number sequence that is hard to guess. Avoid simple patterns like 1234 or dates related to you.
8. Start Using Your Wallet
After the wallet is created, your seed is secured, and your PIN is set, your Trezor is ready to use.
Inside Trezor Suite, you can now:
Add different cryptocurrencies
Generate receive addresses
Send transactions securely
Organize multiple accounts
View charts and portfolio details
Enable optional features like passphrase protection
Your hardware wallet now becomes the secure gateway that approves every transaction you make.
Helpful Safety Tips
To keep your funds safe, follow these best practices:
Use only official Trezor websites and apps
Never enter your recovery seed on a website — only write it on paper
Beware of scammers pretending to be support staff
Keep your device firmware and Trezor Suite updated
Do not lend your hardware wallet to anyone
Buy Trezor only from trusted sellers
Your security is strongest when you follow these simple rules.
Final Thoughts
Trezor.io/start is the trusted place to begin your safe crypto journey with Trezor. The setup process is simple: download Trezor Suite, install firmware, create a wallet, secure your recovery seed, and set a PIN. Within minutes, you’ll have a reliable, secure way to store and manage your digital assets without depending on online exchanges or mobile wallets.